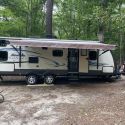
We need to attach a old Saris Bike Rack and we did not trust the rear bumper to support a trailer hitch with two moutain bikes. So, we beefed it up without welding anything to the RV.
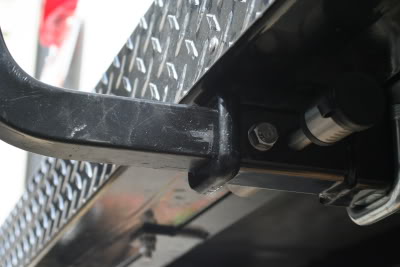
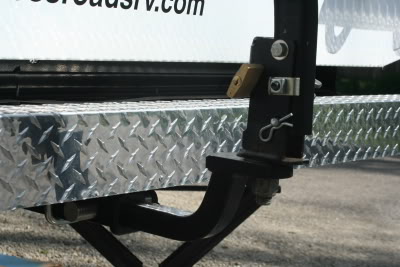
3.5" x 11.5" platesare bolted to rear bumper supports with # 5 hardware.Angle iron 2.5" x 1.5"is welded to the plates and runs parallel to bumper and even with the bottomfront corner.
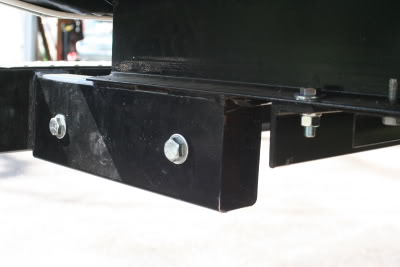
The 3.5" x 11.5" plate bolted to the inside of rear bumper supports with #5 bolts and a spacer inside of the existing 2" x 4" channel keepsthem from squashing. Another length of 2.5" x 1.5" angle iron is bolted to the frame of the RV to support the rear of the hitch receiver tube.

<H2 id=containerPhotoDeion>The 1.25" x 2" receiver hitch extension is u-bolted to the center of the 1.5" x 2.5" angle iron. The tube supports the existing bumper in two spots. The U-bolts are certified. The lock is a stainless steel Master Lock. </H2>
<H2>
</H2>
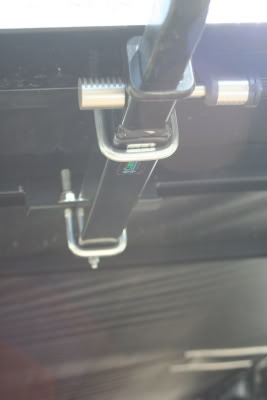
<H2>Another view of the same.</H2>
<H2>
</H2>
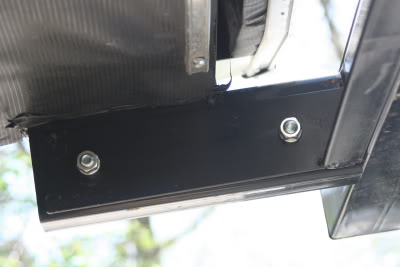
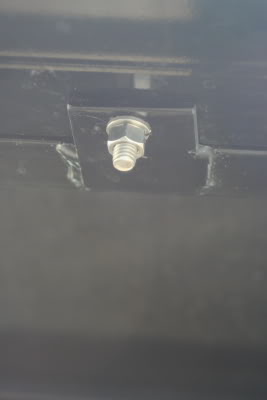
<H2>Two tabs are welded to the angle iron and extend beneath the bumper. They are bolted to the rear bumper with stainless steel carriage bolts. The hole was drilled small enough to capture the square of the bolt head and then drawn tight. The bolts do not interfere with the black water tube but drilling the holes with it in place does.

</H2>
<H2>
</H2>
<H2>A second length of 2.5" x 1.5 angle iron is bolted to the RV frame with #5 hardware. At the center of this iron a tab of angle iron is welded to capture the end of the receiver tube. </H2>
<H2>
</H2>
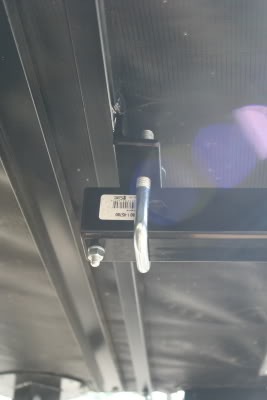
<H2>A bolt is placed at the end of the receiver tube to stop any accidental travel to the rear.</H2>
<H2>
</H2>
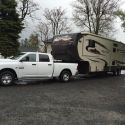
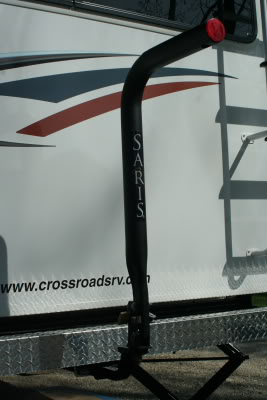
<H2>The hitch in the receiver with the Saris mounted. A stainlees steel bolt was added to the bike rack to further SECURE the Saris to the hitch.</H2>
<H2>
</H2>
We also bolted the hitch to the receiver to further limit movement.
THE END.


 Linear Mode